Friday, May 31, 2013

Wednesday, May 22, 2013

Liquid skull

I needed to test my Einstein flashes to freeze motion today, and that worked fine. Einstein good :)
I have a couple of ideas I'm gonna do later with different liquids.

The liquid is milk with some color added. This picture was made just for fun because I liked the first shot and how the milk behaved. It looked nice I think.

The first shot.

Here I removed my hand and the bowl using masks and added some more milk from other shots.
Changed the color of the milk using Hue/Saturation and added a light in the eye using Knoll Light.

Monday, May 20, 2013

Camera Raw

You can use Camera Raw to recover and retrieve information in your pictures. You can also retouch, change colours, straighten, crop, sharpen, reduce noise and so on.
Experiment with Camera Raw, and you will find new and cool ways to do quick edits on your pictures.
Well, that's my opinion :)

I visited this place again yesterday to find an angle for a picture I am going to shoot later this summer. The guy in the picture is me taking a picture with my iPhone. I had my Canon 5D Mark II on a tripod when shooting this.

Click on the pictures for bigger view and better browsing (without text).

As shot and straight out of camera:

 Camera Raw edit. No Photoshop.


Saturday, May 18, 2013

Båstnäs scrap yard

I visited this place today (17. may) to see if I could find anything cool and then go back later and shoot, shoot and shoot. There was a lot of cool stuff, and that means going back later this summer.

Here is some of the shots from today.


Tuesday, May 7, 2013

The making of "The Jokers"

This is how I shot and edited one of The Jokers pictures. There is really not much to it.

First, this is how I photograph my figures:
http://www.glennmeling.blogspot.no/2013/01/how-i-photograph-my-figures.html

Click on the pictures for bigger view and better browsing (without text).

A behind the cool scene of interrogation room :)


This is the shot I used and straight out of camera.


Here I gave The Joker to the left a little more light and retouch his wrist.


Some more light and retouch on both of them and the background.


Desatured the the entire picture and added a little vignette.


And finally I lightened the entire picture and the eyes of the joker to the right, added some texture and more contrast.


The other picture where I did the same thing.


Thursday, May 2, 2013

The making of "Kaptein Rødskjegg og havets flamme"

This is a step by step process and I will try to explain what I did on each step.
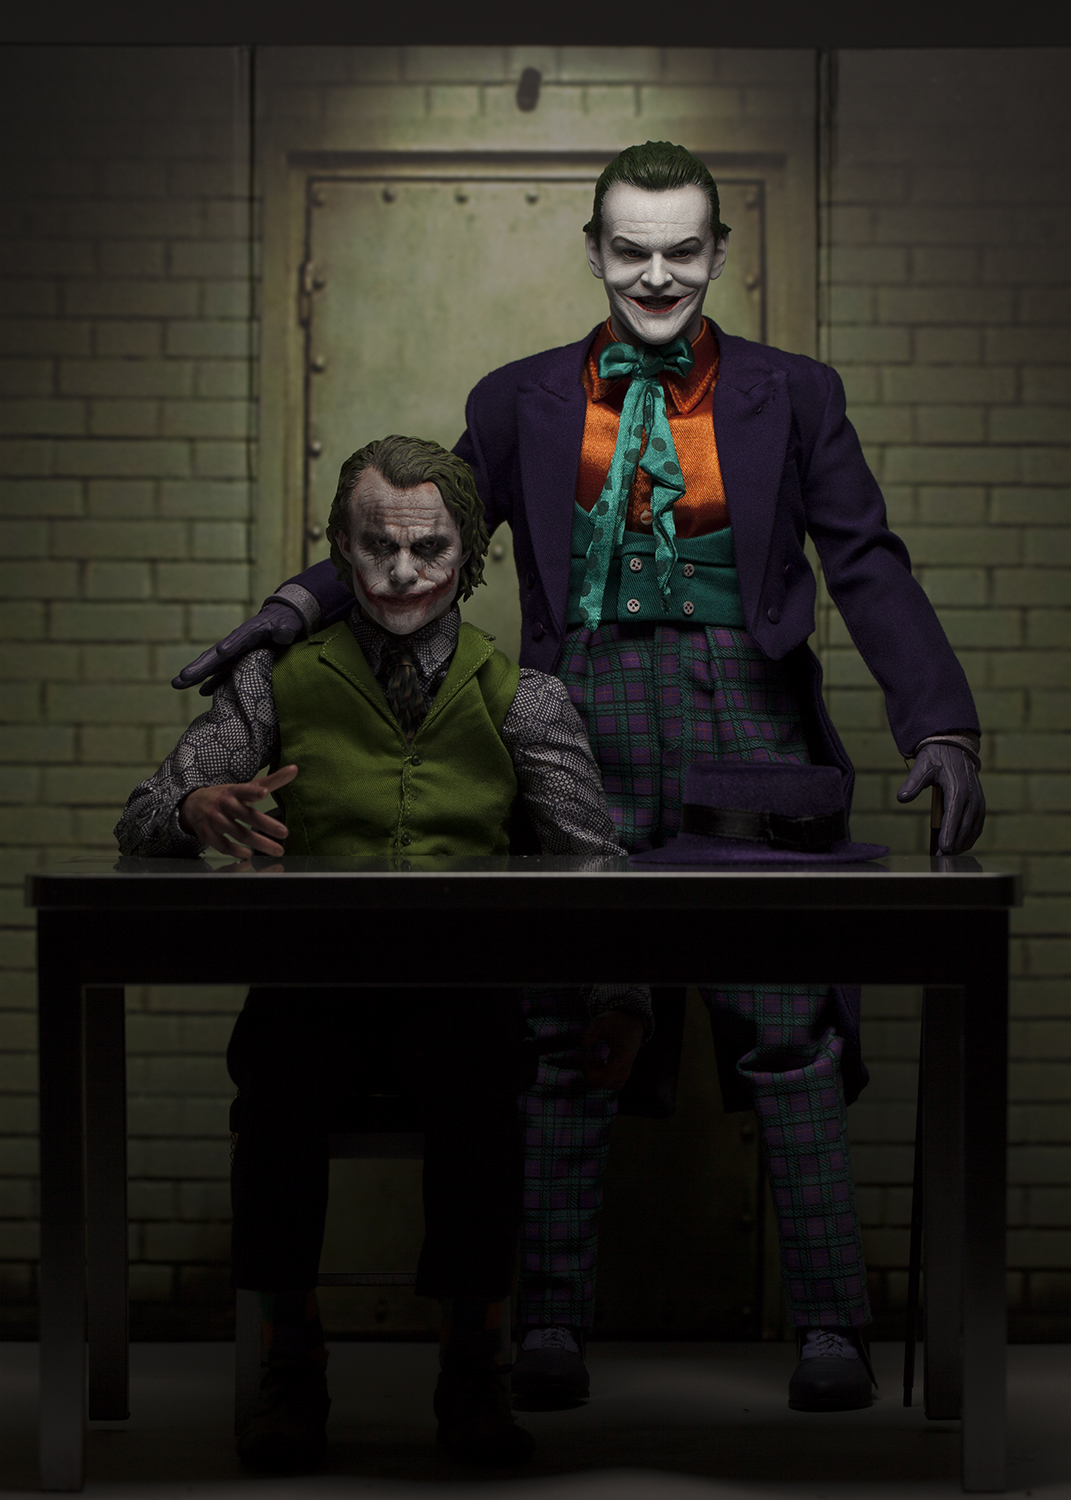
The picture is a poster for their upcoming show this summer.

Click on the pictures for bigger view and better browsing (without text).

This is the first picture and how it was shot.
Added another shot and cut away the half top of the picture to get the legs in place.
Retouched the background, the hat, the hands etc. and decreased the contrast and saturation.
I used the Rectangular Marquee Tool and made a selection that looked like a pier or something and added a couple of colors.
Then I added a wooden floor texture, distorted it to make it match the perspective and changed the blend mode to Soft Light.
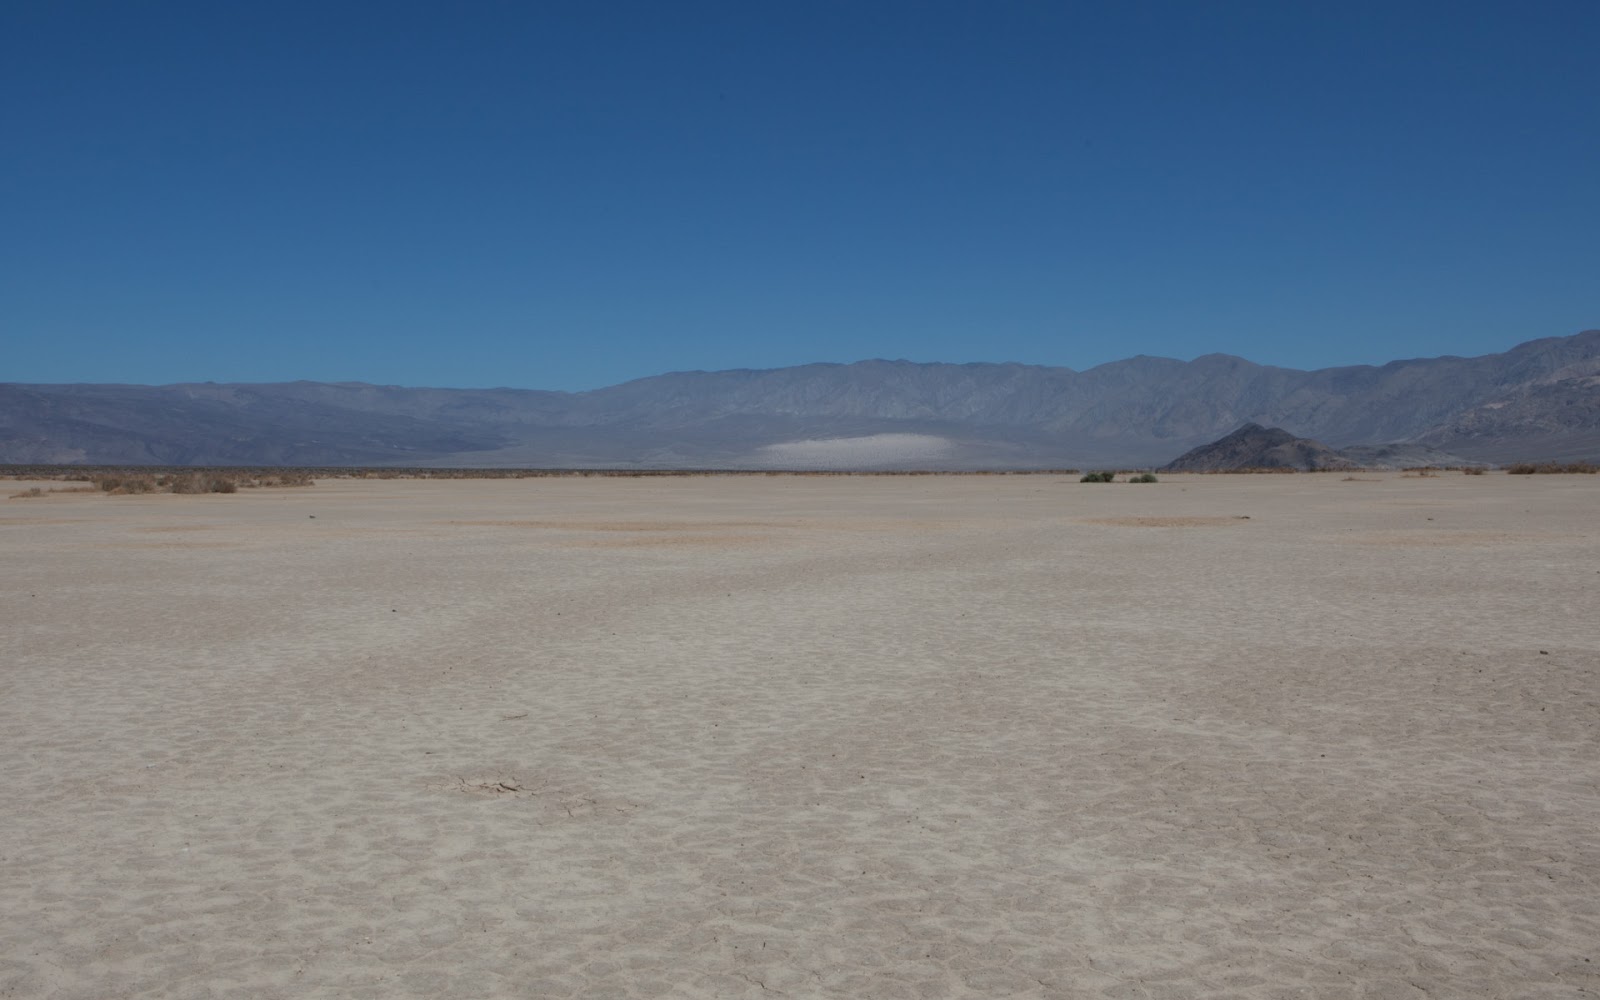
New background with the blend mode Hard Light and masked out the guys.
Brought in some more stuff.
I cut out the hands from another shot and put them in place based on the next step.
The book was shot separately and brought in.
On the three next pictures I added different stuff. The water and fire (stock) was shot on a black background and I changed the blend mode to Screen. The rest is just cut out and the cloud and fog is made using cloud and fog brushes.


Changed the colors, darkened some parts.
Added the "effect" I usually do on this kind of images. That process it to much to write about, but it's mainly dodge and burn, sharpen, High pass filter and so on.
Changed the colors, darkened some parts, added a vignette and finished.