This is how I made the picture of Espen.
Strobist:
Canon 5D Mark II and Canon 24-70mm
1x Einstein in octabox to camera right
1x Einstein in softbox right over person pointing down
2x Einstein in stripbox from behind for rim
As shot in studio.

This is the picture I used for making the background.

This is how the background turned out. Looks like crap, but I didn't mind that. The background worked fine when putting Espen over it.

This is where I lightened Espen as seen in the second step below.

This is the mask I used on the background to get Espen in place.

This is the light from behind.

STEP BY STEP:
Click on the pictures for bigger view and better browsing to see the changes between the steps.
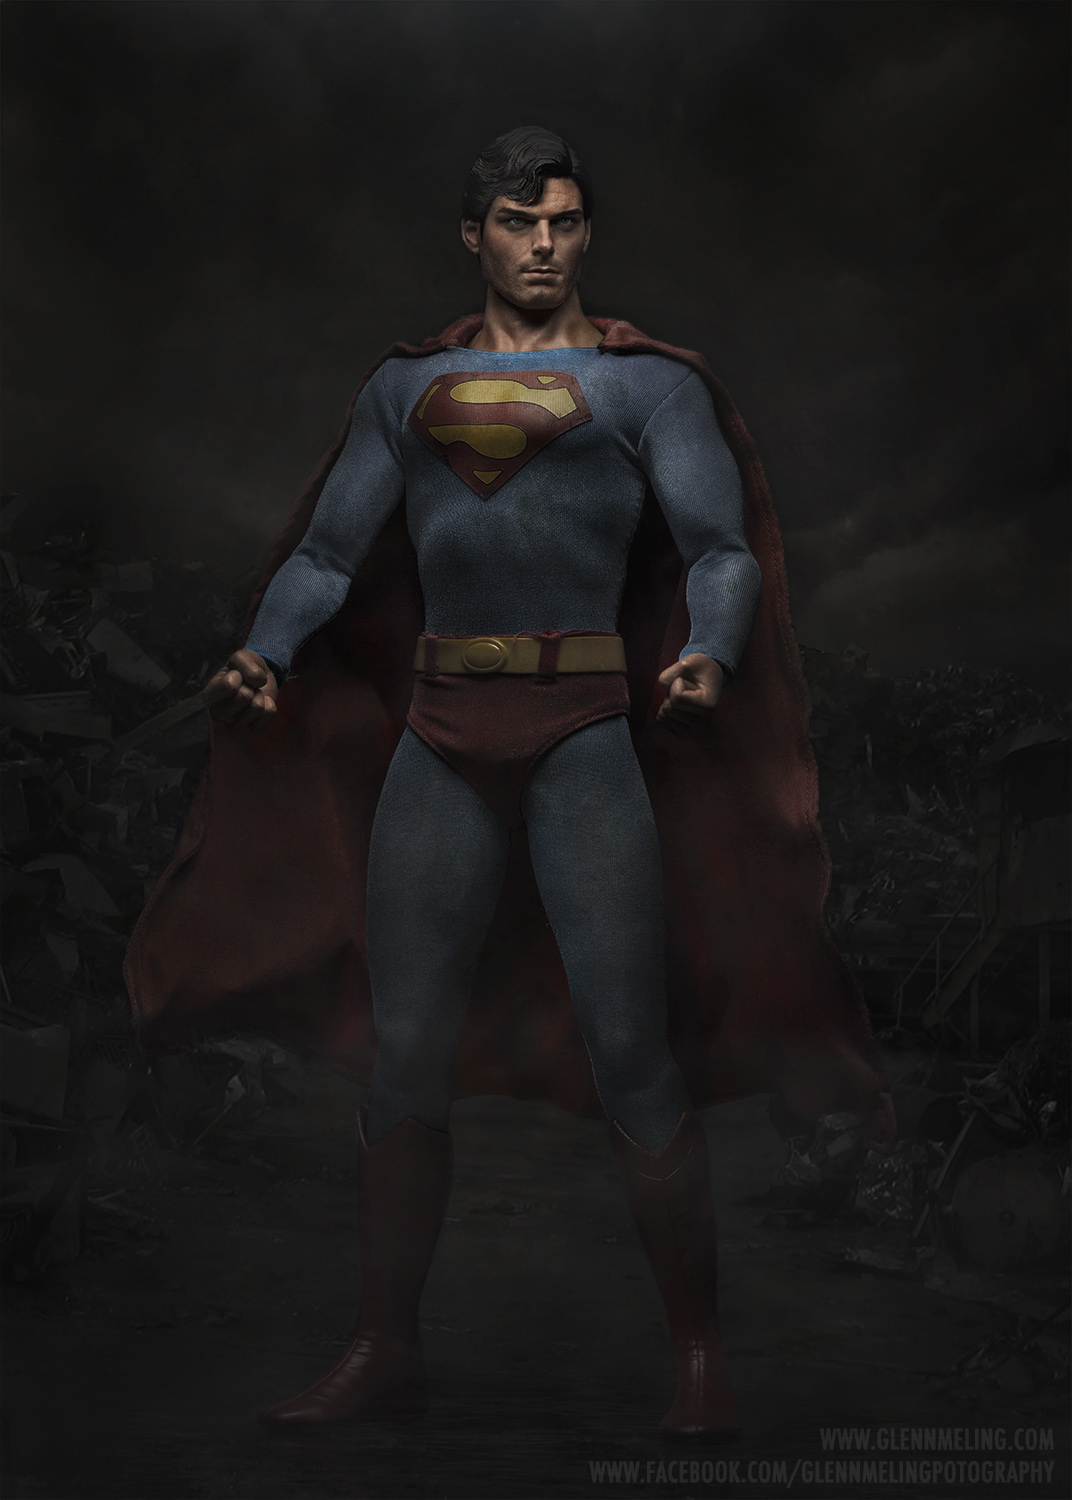
As shot in studio.

Retouched and lightened Espen.

Added the sky with blend mode Hard light.

Added the mask on the background. As you can see on mask (further up) it's really no good around the hair. But since the background is grey and the sky is in blend mode Hard Light it blends well.

Changed the colors on the background.

Added the lower part of the background.

Added the same mask again.

Changed the colors, light and contrast on the background.

On this step I did a lot of stuff, to much to write. But I mainly did what you can read in this old tutorial.

Reduced contrast, more saturation and got rid of the highlight on his neck that was disturbing.

Added the light as seen further up with the blend mode Screen to get rid of all the blacks.
I also used "Apply image" with blend mode Multiply on a mask to tone down the light.

And finally I added some color cast over the whole picture.

Bye now :)